Table of Contents
If your amusement business relies on foot traffic to a physical location, you might not be maximizing your profits. Without an online presence, your products and services might be inaccessible to many visitors.
Fortunately, you can set up a website for your brick-and-mortar amusement business without much effort. Whether you need a place to start a blog, create an online store, or manage memberships, your physical business could benefit from a WordPress website.
In this post, we'll discuss why you should consider giving your brick-and-mortar amusement business an online platform. Then, we'll give you step-by-step instructions on how to set up your first WordPress website. Let's get started!
Why You Should Consider Getting Your Amusement Business Online
In the United States, online ecommerce sales are estimated to reach 2.9 trillion dollars by 2026. Therefore, entering this booming industry could be very beneficial for your business.
Starting a website will help you manage bookings more efficiently. You could also use it to promote products and services, and give event updates to your audience.
There are several other advantages to having an online presence. For instance, you can:
- Reach a global audience
- Display valuable feedback and reviews
- Provide a better customer service
If you own an amusement business, like a theme park, game room, or bowling alley, you can start providing online membership packages. This way, you can make it easier for visitors to purchase recurring tickets.
The Sweet Spot is a great example of this. Although this business offers in-person activities like sports simulators and golf lessons, customers can reserve tickets through its online website:

Additionally, The Sweet Spot gives customers the option to sign up for membership packages. Its website features four tiers with individual privileges. This allows visitors to buy tickets at a discount, which could entice them to come back and play indoor golf every month.
How to Get Your Brick and Mortar Amusement Business Online (In 3 Steps)
Now that we've discussed the benefits of having an online presence, let's look at how to create a website to drive more traffic to your amusement business.
Step 1: Set Up a WordPress Website
There are many platforms you could use to launch your website. However, we recommend WordPress. Using this open-source software, you can access many different themes and plugins to set up a custom website in minutes.
Although WordPress is free, you'll need to purchase a domain name. This is the custom web address of your website.
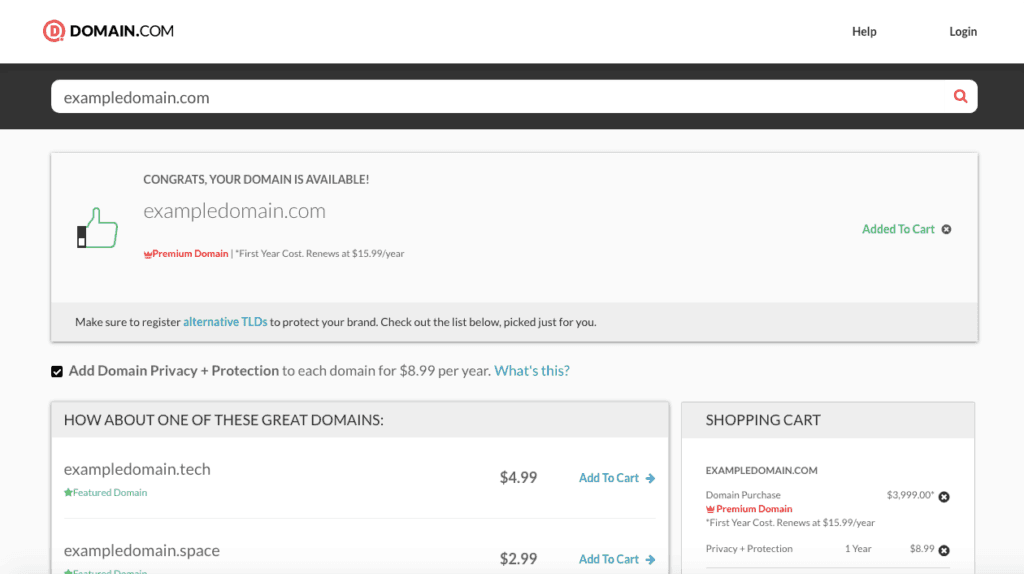
You can find and buy a domain with a registrar like Domain.com. Here, you can search for your desired name to see if it's available to use:

Domain.com will also provide a list of different Top-Level Domains (TLDs) you could buy:
You'll also need to purchase web hosting. This is a service that gives you server space and bandwidth to run your website. WordPress hosting providers can often improve your website's performance and security.
For example, WP Engine provides automatic updates and proactive threat blocking to help keep your site secure:
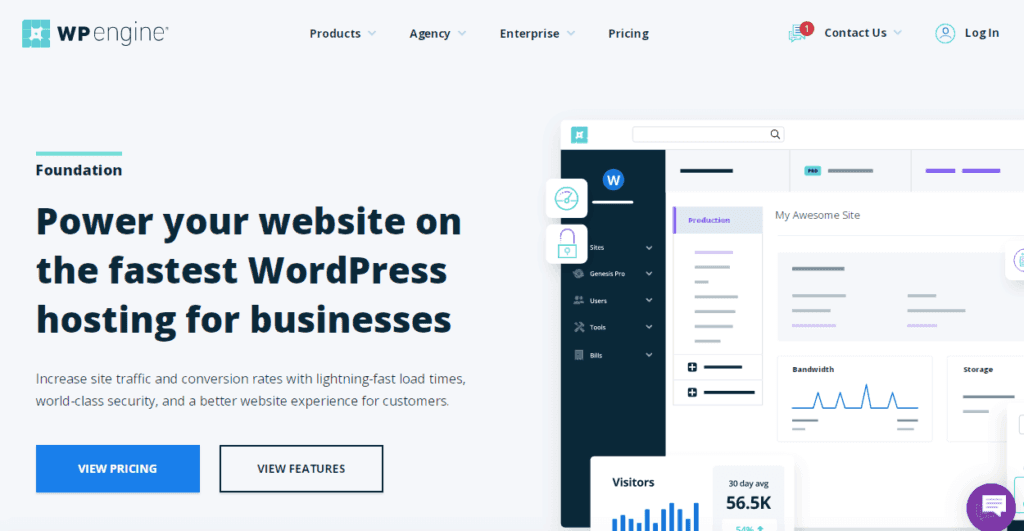
Once you choose a WP Engine hosting plan, you can sign in to your user portal and install WordPress. You'll then be able to start working on your site.
Step 2: Add Your Website Content
Now it's time to customize your website. When using WordPress, you'll have access to the Theme Directory, which includes thousands of free theme templates.
To create a new theme, navigate to your WP admin and click on Appearance > Themes > Add New:
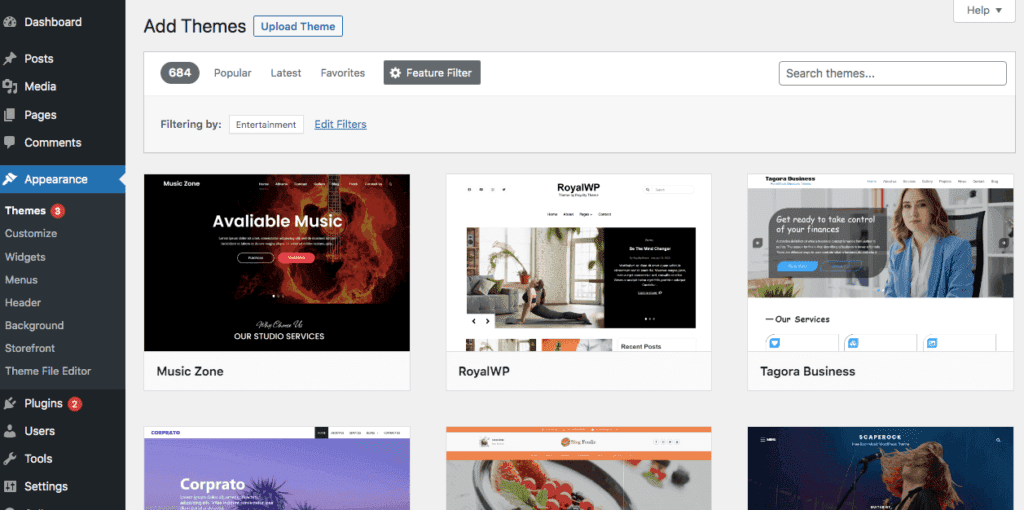
We recommend that you select a theme that will suit your amusement business. You can use the Feature Filter option to only include search results for entertainment or ecommerce themes (as shown in the image above).
For instance, the Skitouring WordPress theme helps you showcase blog content, create promotional headlines, and display customer feedback:

After you choose a theme, click on Install then Activate. Then, you can tweak the design by navigating to Appearance > Customize.
You may also want to add new content, such as an about page or an FAQ section. Additionally, you could create an online store by installing WooCommerce on your website.
Step 3: Create Your Memberships With MemberPress
Lastly, consider adding membership options to your website. This will enable visitors to access exclusive content for a small subscription fee.
When you offer memberships, you can create an online community. You could offer educational content, or simply reward customers for returning to your physical location.
Luckily, making a membership site is easy with MemberPress. This is an all-in-one WordPress plugin that enables you to fully customize your memberships:
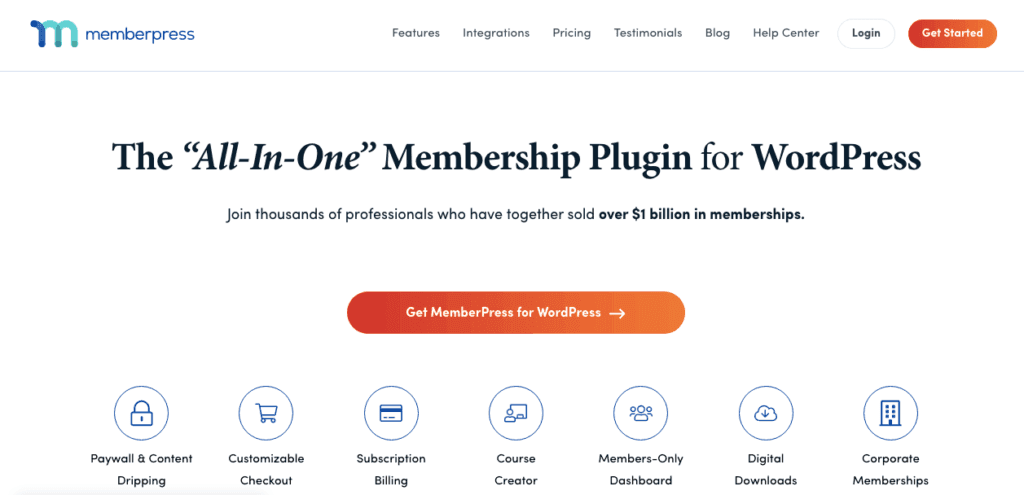
With MemberPress, you can create and manage different membership levels. Like The Sweet Spot, you could consider offering discounts to specific members.
Plus, the basic MemberPress version comes with a WooCommerce add-on. The MemberPress WooCommerce Plus plugin enables you to assign membership levels, pay-per-posts, and pay-per-view content to your members after they've made a purchase through your WooCommerce store.
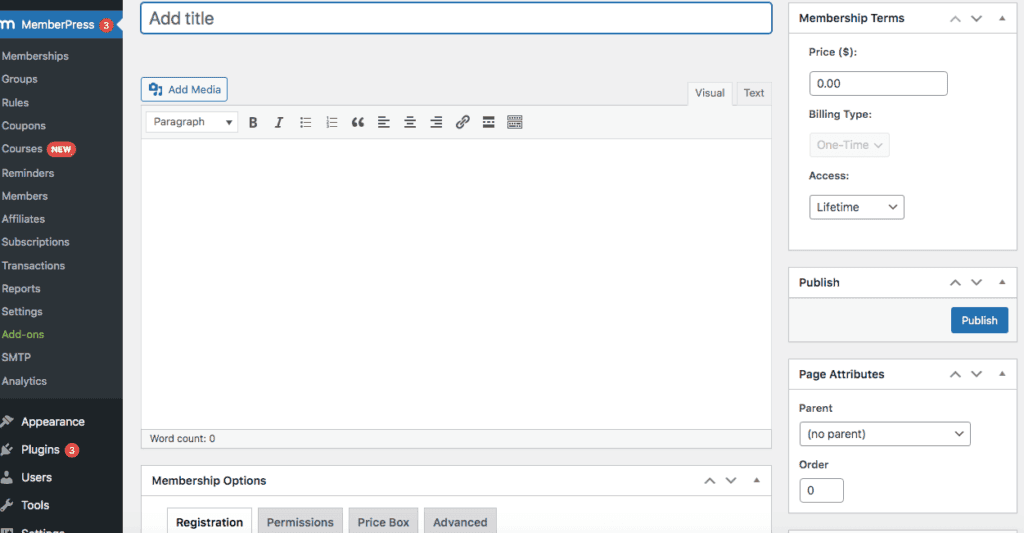
To get started, you'll need to purchase and install the MemberPress plugin. Then, you can go to your WordPress dashboard and navigate to MemberPress > Memberships > Add New. Here, you can give your membership a title and set your prices:
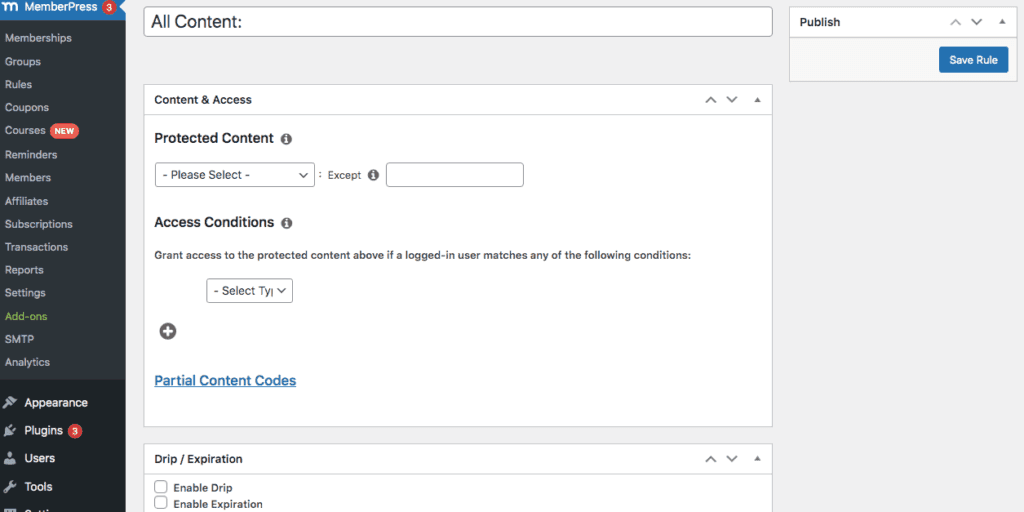
Then, you can create your membership rules by going to MemberPress > Rules > Add New. This enables you to change who can view certain content:
You can further customize your membership registration, login page, and payment methods in the plugin's settings. Simply go to MemberPress > Settings to access these features.
Conclusion
Although it can be difficult to start providing services online, this strategy could help you reach a wider audience and increase your sales. With a custom WordPress website, you can strengthen your brand identity and raise awareness of your amusement business.
To recap, here are the three steps to take your physical business online:
- Set up a WordPress website.
- Add your website content, including an about page, an FAQ section, and a WooCommerce store.
- Create your memberships with MemberPress.
Do you have any questions about creating an online website for your business? Let us know in the comments section below!
If you liked this article, follow us on Twitter, Facebook, Pinterest, and LinkedIn. And don't forget to subscribe to our newsletter


Leave a Reply