In this article, we will cover how to install and start to use the EasyAffiliate plugin and provide a step-by-step guide for upgrading/downgrading your EasyAffiliate edition.
EasyAffiliate is a plugin that helps you create a completely self-hosted affiliate program for your WordPress membership site or eCommerce store within minutes.
However, before making that, we will need to install and activate it on your WordPress site, so let's begin.
There are two main ways that you can install EasyAffiliate on your site, automatically and manually.
Installation through WordPress Dashboard
After purchasing EasyAffiliate, you can log in to Easyaffiliate.com and download the zip file of the plugin. Next, follow these simple steps to quickly install and activate EasyAffiliate. It only takes a minute!
- Login to the WordPress Dashboard on your site.
- Head to Plugins -> Add New -> Upload.
- Choose the easyaffiliate.zip file you downloaded earlier.
- Click “Install Now”.
- Click “Activate Plugin” when installation completes.

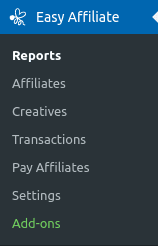
You should now have a new menu item in the dashboard titled “Easy Affiliate” so feel free to start using it.
Please note that for best results, Easy Affiliate should be installed on the same site where your sales are made.
Manual installation using FTP or built-in File Manager
After purchasing EasyAffiliate, you can log in to Easyaffiliate.com and download the zip file of the plugin. If, for some reason, you are unable to automatically install the plugin as instructed above, you can follow these instructions to manually install the plugin using FTP.
- Extract the easyaffiliate.zip file you downloaded earlier somewhere on your computer.
- If you are unsure how to connect to your site using FTP, contact your web host for instructions.
- Using your favorite FTP Client (FileZilla is our favorite), connect to your website server.
- Copy the extracted /easyaffiliate/ directory from your computer to the /wp-content/plugins/ directory on the remote server.
- There are a lot of files so give it some time to complete.
- Once it's done, log in to your WordPress Dashboard.
- Head to the Plugins page and click “Activate” below the EasyAffiliate plugin.
The other way would be to check with your hosting company since most of them have some inbuilt File Manager tool for accomplishing this. Those often have a built-in unzip option so you can even upload the zipped archive instead and unzip it there.
That would be it, and you should now have a new menu item in the dashboard titled “EasyAffiliate”.
Note: a common mistake made here is extracting and uploading the plugin with too many folders. The final directory structure should be /wp-content/plugins/easyaffiliate/…files in here. Some users will accidentally install it with an extra easyaffiliate folder like /wp-content/plugins/easyaffiliate/easyaffiliate/…files in here. The latter is incorrect and may cause the plugin to not function normally.
How to Upgrade or Downgrade Your EasyAffiliate Edition
You can either upgrade or downgrade your current EasyAffiliate Edition. Remember, our prices are prorated based on what you've paid already and how long you have had that membership. So, the sooner you upgrade or downgrade, the more you'll be credited.
Paying for the Upgrade/Downgrade
Here are the exact steps you should follow to upgrade or downgrade.
- Login to your account page here.
- Navigate to the “Subscriptions” tab.

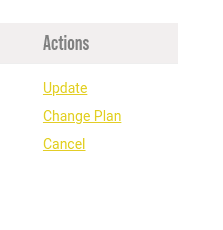
- To the far right of your subscription, click the Change Plan link.

- You'll see the usual EasyAffiliate purchase page, but the price you see might be prorated (if applicable).
- Click Get Started button on the edition you would like to have and continue through the purchase process like normal.
- Once you arrive at the Thank You page, the process to pay for the upgrade has been completed.
Changing the Edition on Your Site
After following the steps above to purchase your upgrade or downgrade, it is essential to remember that simply going through the above steps does not automatically update your Easy Affiliate edition on your site. If you are changing an Easy Affiliate edition, you will also need to follow the steps below:
- Download a copy of the new Stable version from your account page here (the yellow Download Easy Affiliate x.y.z button) and make a note of your License Key (this have changed).
- Save that downloaded copy to your computer where you will remember it (for step 6).
- Go to the Easy Affiliate -> Settings -> General tab, License section and click the “Deactivate License Key on yoursite.com” button.
- Then, go to the WordPress Dashboard -> Plugins and at the top of the page, click the “Add New” button, then on the next page, click on the “Upload Plugin” button.
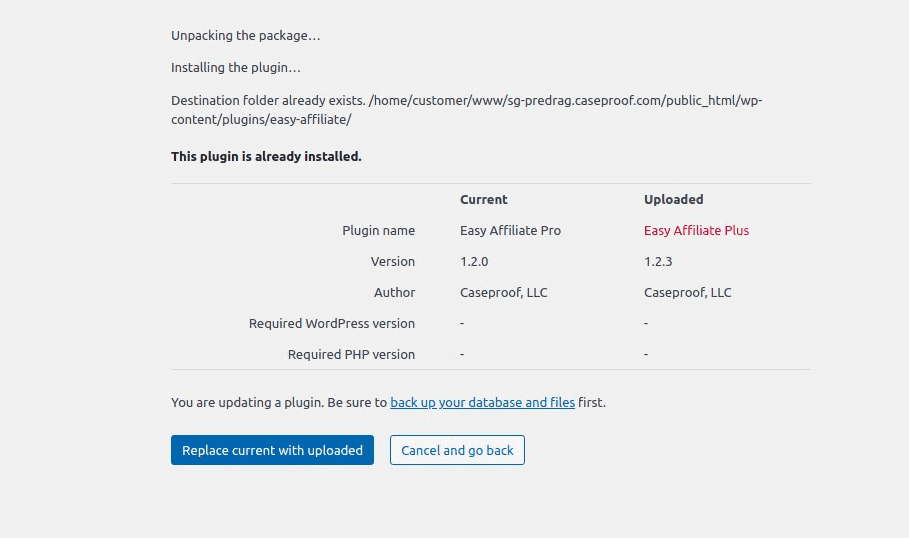
- Use the “Choose File” button to select the file you saved earlier in Step 2, and then click the ‘Install Now' button. You may need to click the “replace with current version” button (screenshot below).
- Finally, navigate to the Easy Affiliate -> Settings -> General tab, License section and enter your license key, noted from Step 1.
- Click the “Activate License Key on yoursite.com” button.

That's all!! You've completed the upgrade/downgrade of your Easy Affiliate plugin.
*ATTENTION: If you get a message that the installation failed because the plugin already exists, that means you're running a WordPress version older than 5.5. In that case, we recommend that you update your WordPress to the latest available version and rerun the procedure.
